Saving files to personal network storage from a Mac (Employees)
Jump to navigation
Jump to search
About this article
This article includes instructions for saving files from your Apple MacBook to your personal campus network storage. It is intended for employees. Students do not have personal campus network storage. They have OneDrive for Business only.
What's personal campus network storage?
Every employee has 4 GB of personal network storage on a local campus network server. You can use this storage for all sorts of work-related files, but it is highly recommended for any private university data (e.g., student grades, employee performance reports). Network storage is mandatory for highly sensitive private data (e.g., social security numbers). Review the data sensitivity and file storage article for more information.
How to save files to your personal network storage
- Select the “Go” menu, and select “Connect to Server….”
- For your personal network storage area, use: smb://store.winona.edu/users/YOUR-STARID
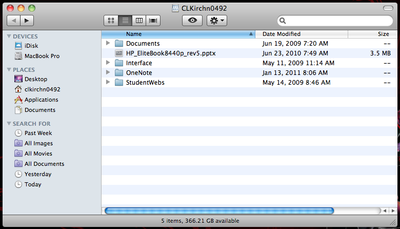
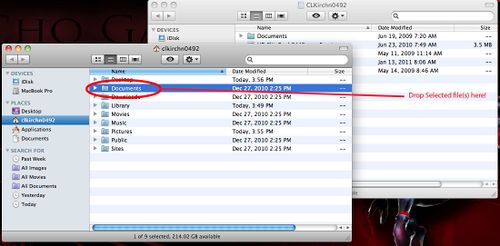
- Once the “Connect to Server…” is selected, a dialog box below will appear on the screen. This is where you will select the network share that needs to accessed. Simply select the store that needs to be accessed and click on the “Connect” button. This will mount a network drive on your desktop and a finder window will open displaying the contents of the selected network share.
- You can now drag and drop files to this location.
Pro tips & VPN Client Information
- When accessing your personal drive from off campus, a VPN connection is required.
- You will fill up the 4 GBs quickly if you store a lot of media (e.g., pictures, movies, music). Instead, use this space to store important school-related files that you absolutely cannot lose.

