Difference between revisions of "How to enable iCloud Keychain in Safari"
Jump to navigation
Jump to search
(Created page with "1. Launch Safari from your dock or the Finder. 2. Click Safari on the top left of your screen. File:Step 1 Safari.jpg 3. Click Preferences. File:Step 2 Safari.jpg...") |
|||
| (5 intermediate revisions by 2 users not shown) | |||
| Line 1: | Line 1: | ||
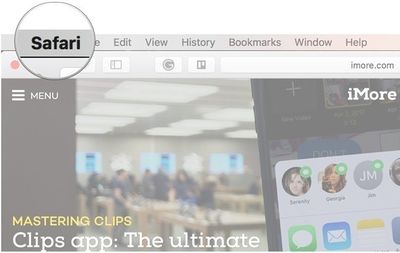
| − | 1. Launch Safari from your dock or the Finder. | + | 1. Launch '''Safari''' from your dock or the '''Finder.''' |
| − | 2. Click Safari on the top left of your screen. | + | 2. Click '''Safari''' on the top left of your screen. |
| + | [[File:Step 1 Safari.jpg|400 px]] | ||
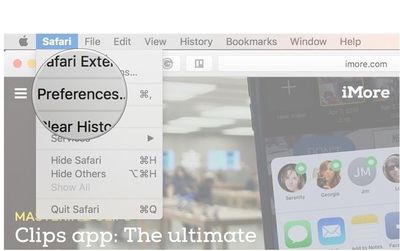
| − | + | 3. Click '''Preferences.''' | |
| + | [[File:Step 2 Safari.jpg|400 px]] | ||
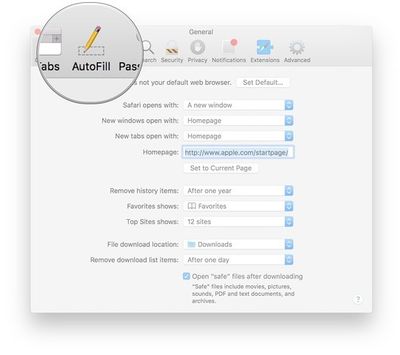
| − | + | 4. Click '''AutoFill.''' | |
| + | [[File:Step 3 Safari.jpg|400 px]] | ||
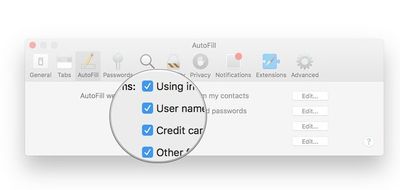
| − | + | 5. Click the '''checkboxes''' next to the categories you'd like '''autofilled.''' | |
| + | [[File:Step 4 Safari.jpg|400 px]] | ||
| − | + | [[Category: Mac]] | |
| − | |||
| − | |||
| − | [[ | ||
| − | |||
| − | |||
| − | |||
| − | |||
| − | |||


