Difference between revisions of "Managed Software Center"
| Line 14: | Line 14: | ||
Click on an app's icon for more info on what that app is and what it can do for you. | Click on an app's icon for more info on what that app is and what it can do for you. | ||
| − | [[file:MSCmoreinfo.png| | + | [[file:MSCmoreinfo.png|500px]] |
If you'd like to just start the install immediately, simply click the install button to begin. | If you'd like to just start the install immediately, simply click the install button to begin. | ||
| Line 22: | Line 22: | ||
Once you've clicked install, you can monitor the install progress via the My Items tab | Once you've clicked install, you can monitor the install progress via the My Items tab | ||
| − | [[file:MSCmyitems.png| | + | [[file:MSCmyitems.png|500px]] |
Revision as of 16:31, 3 December 2018
What is Managed Software Center?
Managed Software Center (MSC) is an open-source software deployment tool for macOS. It is sometimes referred to as "Munki," which is the name of the backend process that runs it. Managed Software Center is where WSU Mac users can obtain campus-licensed software such as Adobe applications, Microsoft applications, JMP, SPSS, Mathematica, and more. For all intents and purposes it is just a custom WSU app store.
How do I use Managed Software Center?
From your Applications menu, select the black-and-white Managed Software Center icon.
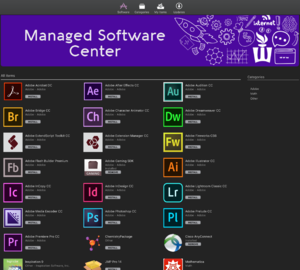
Once open, it may take a moment to download the catalog's contents. Once that automatic step is done, you should see available apps
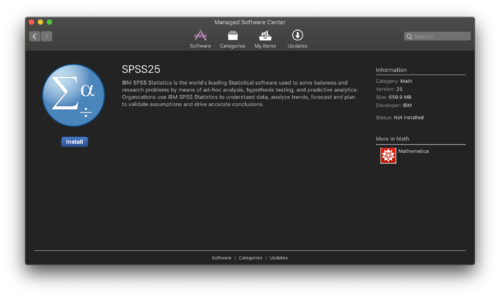
Click on an app's icon for more info on what that app is and what it can do for you.
If you'd like to just start the install immediately, simply click the install button to begin.
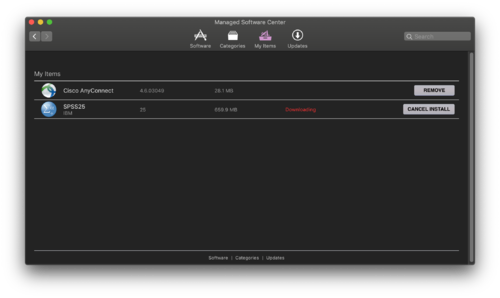
Once you've clicked install, you can monitor the install progress via the My Items tab


