Difference between revisions of "Snip & Sketch"
| Line 8: | Line 8: | ||
The image is saved to your clipboard. | The image is saved to your clipboard. | ||
| − | You can also open the app by searching for Snip & Sketch. You can open the app | + | You can also open the app by searching for Snip & Sketch. You can open the app here or pin the app to your Taskbar for easy access. |
[[file:top_bar.jpg]] | [[file:top_bar.jpg]] | ||
Latest revision as of 16:04, 24 May 2019
Overview
Snip & Sketch is a screen capture tool that allows you to draw, highlight, and crop a screen shot. Screen sketch is now called Snip & Sketch and this is also replacing the Snipping Tool.
Open Snip & Sketch
To quickly take a snip, pres the Windows logo key + Shift + S. You'll see your screen darken and your cursor displayed as a cross. Choose a point at the edge of the area you want to copy and left-click the cursor. Move your cursor to highlight the area you want to capture. The area you capture will appear on your screen.
The image is saved to your clipboard.
You can also open the app by searching for Snip & Sketch. You can open the app here or pin the app to your Taskbar for easy access.
Sniping
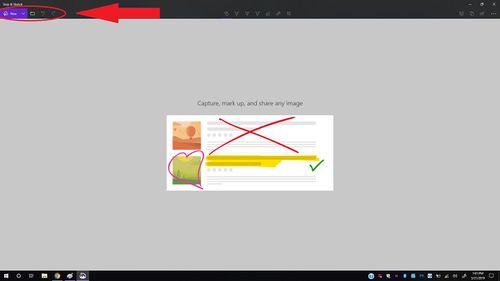
- When you first open Snip and Sketch , there is a button on the top left that says "New".

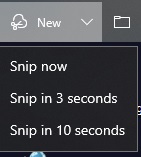
- If you click on the little arrow right next to "New" there will be a drop down menu which allows you to put a timer on when you want to screen shot.
- There is a 3 second option and a 10 second option.
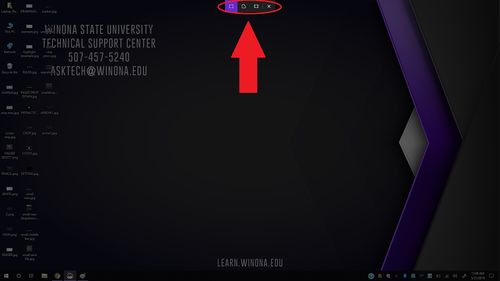
- When you press "New" Snip and Sketch will close and show the next open screen.
- There will be a bar with 3 diffrent symbols.
- This allows you to chose what part of the screen you want in a rectangle shape.
- This allows you to select part of the screen in any shape.
- This allows you to screen shot the whole screen.
- This allows you to pull files from your computer to edit.
- These two are the Undo and Redo buttons.
Sketching
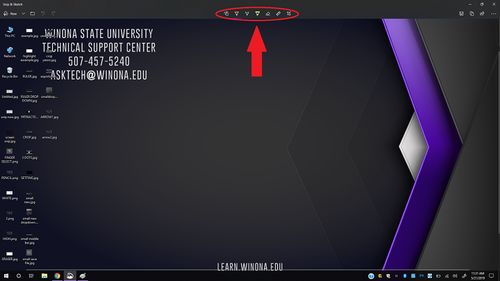
The middle bar of buttons contains the drawing, highlighting and cropping tools.
- When this button is selected the touch screen can be used for drawing, if not selected the touch screen can't be used for drawing.
- You will know when it is selected because there will be a colored bar underneath.
- The first drawing tool is the Ball Point Pen.

- The second drawing tool is the Pencil.

- The third drawing tool is the Highlighter

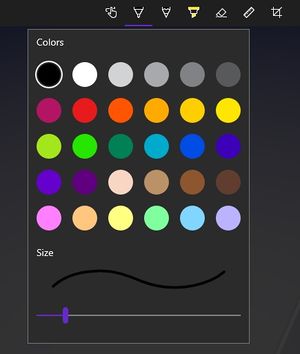
- Each drawing tool has its own drop down menu which allows you to choose the color and size of each stroke.
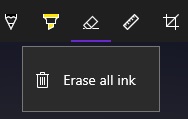
- When erasing you can only erase whole strokes at a time.
- When selected, there is a drop down menu that says, Erase all ink.
- This will delete any and all drawings made to the screen shot.
Ruler/Protractor
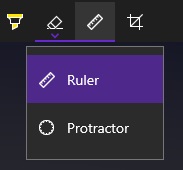
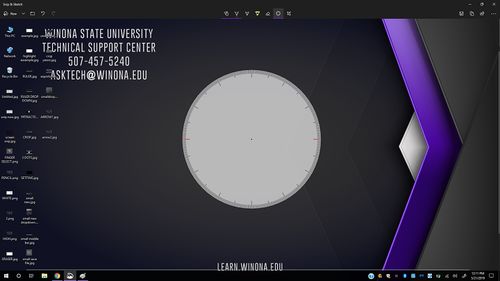
- In Snip and Sketch there is an option to have a ruler or protractor on screen while you draw.
- This can be useful for drawing straight lines or proper angles.
- When selected, there is a drop down menu that allows you to choose between a ruler or protractor.
Cropping
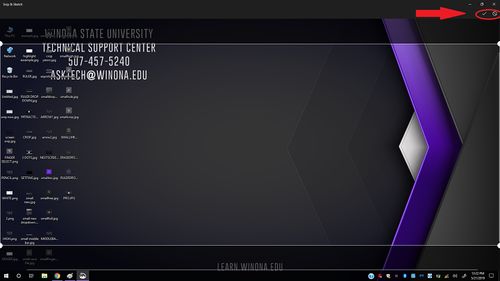
- Snip and Sketch also gives you the option to crop your current screen shot.
- While in the cropping mode, you will see two symbols in the top right corner.
Exporting
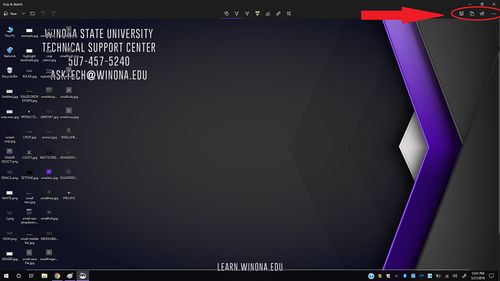
- The last 4 icons in the top right of the page would be the various exporting choices.
- The first button is to Save your work.

- The second button is to Copy your work.

- The third button is to Share your work.

- There are a few ways to share:
- Firstly, through contacts.
- Secondly, through wifi and Bluetooth.
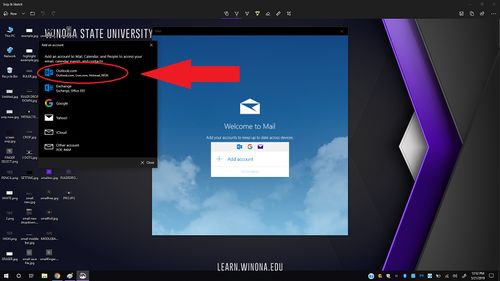
- Thirdly, through Mail.
- This option uses Microsoft's mail app but gives you an option to set up your outlook account.
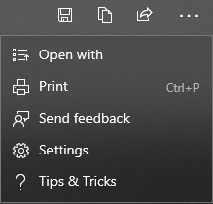
- The 3 dots at the very end of the bar bring a drop down menu when clicked.
- Here, you can open the screen shot into another program or print your screen shot.


