Difference between revisions of "VPN"
| Line 9: | Line 9: | ||
*KeyServer applications (e.g., [[Adobe Photoshop]], [[Adobe Acrobat]]) These applications will require VPN to run off campus. | *KeyServer applications (e.g., [[Adobe Photoshop]], [[Adobe Acrobat]]) These applications will require VPN to run off campus. | ||
| − | |||
| − | |||
| − | |||
| − | |||
==Find the Cisco AnyConnect VPN software on Your WSU Laptop== | ==Find the Cisco AnyConnect VPN software on Your WSU Laptop== | ||
Revision as of 13:09, 29 July 2016
About this Article
VPN stands for Virtual Private Network. It is used to connect to the WSU network when you are off-campus. Students and Employees can use this software. Only WSU laptops can run this software.
Cisco AnyConnect VPN client
Using the Cisco AnyConnect VPN client software, you can connect a WSU laptop to the WSU network from off campus. This software is already installed on all WSU laptops. A VPN connection enables you to access select network resources as if you were on campus connected to our network directly. The data is encrypted to preserve security. This includes:
- Network storage drives (e.g., personal, class, departmental) Note: See instructions below to Map Network Drives
- KeyServer applications (e.g., Adobe Photoshop, Adobe Acrobat) These applications will require VPN to run off campus.
Find the Cisco AnyConnect VPN software on Your WSU Laptop
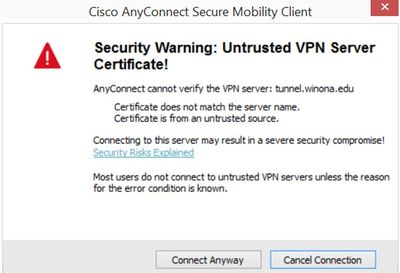
NOTE: You may see this error a couple times while trying to connect. Click on "Connect anyway".
On a PC (Windows 10)
- From the Windows Start Screen
- Use the Search icon
- Search for Cisco
- Select 'Cisco AnyConnect Secure Mobility Client'
- You will be prompted to Connect and login to WSU with your StarID@winona.edu and password.
On a PC (Windows 8.1)
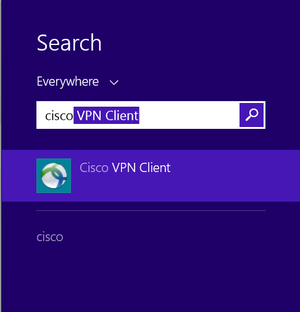
- From the Windows Start Screen
- Search "Cisco"
- Select "Cisco VPN Client"
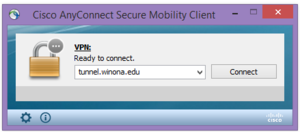
- Choose Connect in the menu below:
- Use your full WSU email address when prompted to login
On a Mac
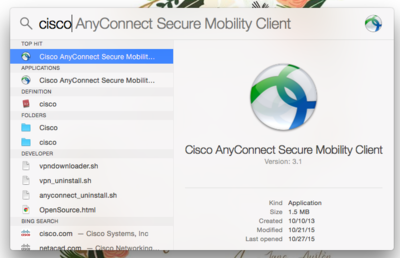
- Click on Spotlight in the upper right corner
- Type in "Cisco"
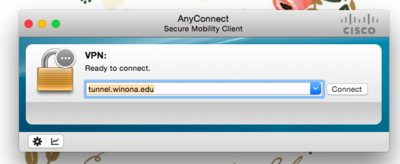
- Select "Cisco AnyConnect Secure Mobility Client"
- Connect to Tunnel.winona.edu
- Use your full StarID email and password when prompted to login
Map Network Drives
Temporary fix for mapping personal network storage until August 8th
Until August 8th, your personal network storage (R: drive) will map to your new StarID folder and not to the folder with your network name. You can manually map to the folder with your network name on it. It is best that you do not store any information in the folder with your new StarID and continue using the folder with your network name associated with it. Follow these steps to manually map a network drive:
Windows 10
You will need to manually map your Personal Network Storage also referred to as R: drive.
- Open File Explorer from the Taskbar
- Use the drop down arrow in the top menu for 'Map network drive' and select Map network drive
- Type the following in Folder: \\store\users\(your network username, not your StarID)
- Select 'Reconnect at sign-in'
- Finish
Mac OS
- Use the Finder
- Go
- Connect to Server
- Server address: smb://store.winona.edu/usser/network username (not StarID)
Map Network Drives Continued (for after August 8th)
If you want to connect to Personal Network or Department Network drives from off-campus, you will need to VPN and Map Network drives to access them.
Windows 8.1 & 10 PC
- Go to Start Screen and select the Tile Map Network Drive
- A script window will appear and your drives will be mapped
- Go to This PC to see the network drives mapped from the start menu (See Fig 1.)
Mac
- In Finder, hold down <CommandKey> then hit the <K> key to bring up "Connect to Server"
- Mac users connect to one of the network locations listed in the Fig 2.
