Draft:Copying files in Windows 7
Jump to navigation
Jump to search
About this article
This article includes instructions for copying files in Windows 7 on computers that have a Data(D:/) drive. You will learn how to use the drag and drop method to manually copy files from your hard drive to an external drive.
Overview
First you will need to decide where you are going to back up your data. Choices are: external hard drive, external thumb drive or network storage space. If you have very little to back up then you could use CD’s or DVD’s. You will also have to determine how much space you are going to need to do your backup prior to backing up your data so you have an external drive that is large enough to store the back up.
Steps:
- Connect your external hard drive or thumb drive to your computer.
- Open a ‘Computer’ window and size it to fit half of your computer monitor.
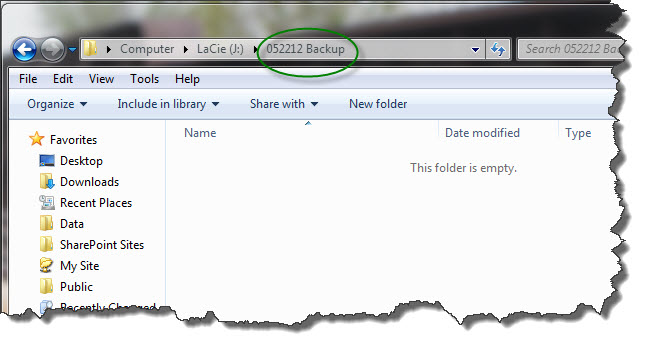
- Open your external drive. Make a new folder called Backup along with today’s date. Open this folder.
- Open another Computer window and size this window to fill in the other side of your monitor. Then open the D: drive.
- Time to drag and drop files from one window to the next.
- To do a full back up of your laptop you will want to drag all four of these folders (Data, Desktop, Favorites and Outlook). You may need to drag other folders or files to the backup folder. I have a folder called ‘Peggy’ with personal documents that I would also drag over to my backup folder. The table also describes other items that you may need to back up, so make sure that you read this over carefully.
- When dragging folders from one location to another, watch for the ‘Copy to…’ tooltip.
- You will now have a full back up of your computer data all stored in one folder called (dateBackup).
- See how to restore these files.


