How to Make a Website (DW)/Step 2 - Set-up Site/PC Instructions
Jump to navigation
Jump to search
The following steps detail how to connect to Dreamweaver CS5 to the StudentWebs server for easy uploading of websites.
Starting a New Webpage and Connecting to the StudentWebs server
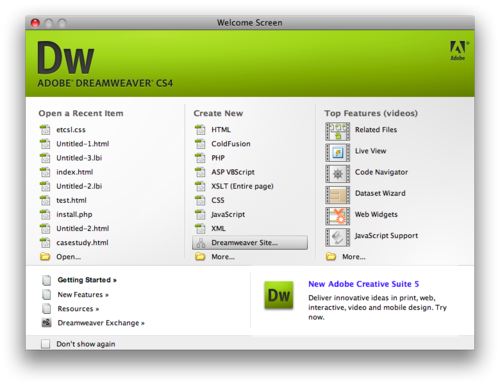
- When you first open Dreamweaver CS5, you will see the welcome screen. To start a new website, under the Create New heading choose HTML. It should be the first one listed.
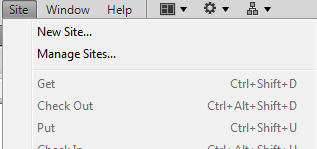
- Up at the top, click on the Site menu. In the resulting drop-down, choose the first option: New Site
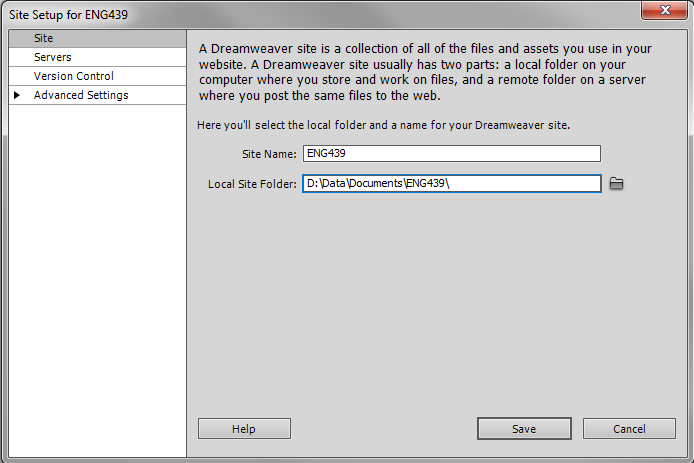
- In the Site Name field in the resulting window, we recommend naming it with the course number (as shown) but anything can be used. Avoid using spaces in the name, as many web browsers have trouble recognizing spaces in the URL. Instead, use an underscore ( _ )
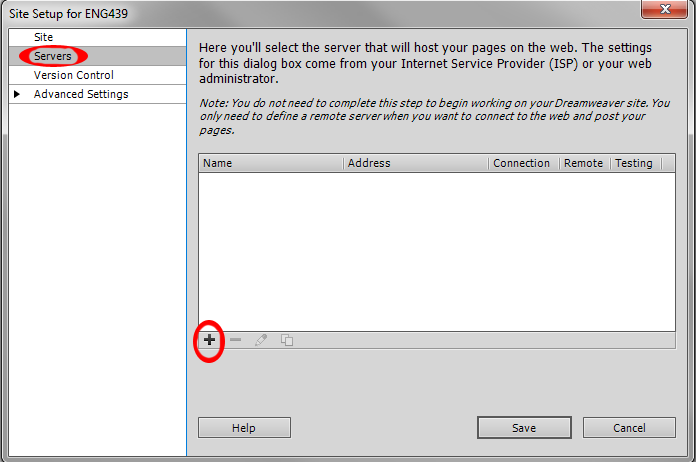
- Click on the Servers tab on the left and click the plus sign + under the window's white space.
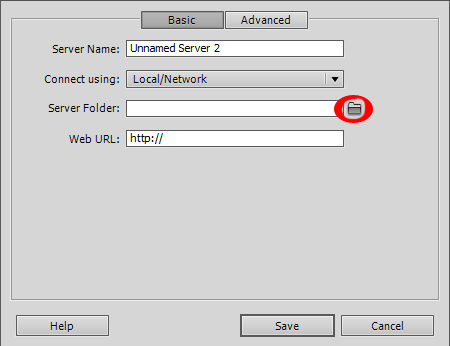
- In the resulting window, don't worry about the server name, set it from FTP to Local/Network, and click the folder icon next to the Server folder field.
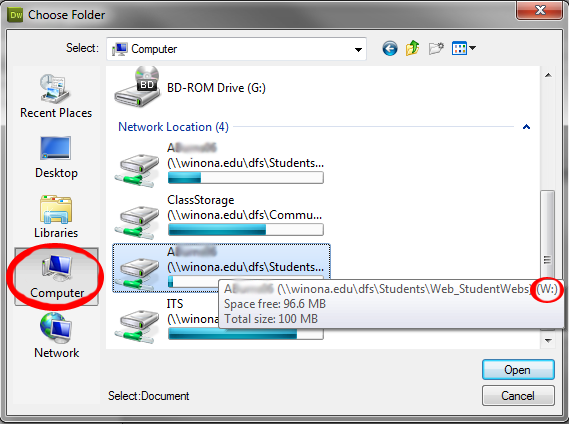
- A window will appear allowing you to select the student webs server. Click on the "Computer" tab to the left and scroll down. You should see at least two drives labelled by your username. Hold your mouse over each for a few seconds until a little dialogue box appears. The one you want will end with (W:). Select that drive and click the combination of Selects, Saves, and Done to exit out of all the setup windows. If you do not see any network drives, plug in with an ethernet cable, click on the Start menu/orb, and choose the Click_to_Map_Drives near the top. Let the box open, run, and close on it's own then try again.
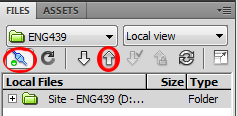
- Now, back on the main Dreamweaver window, on the right side you'll see the screen below. Click the icon that looks like two plugs to connect to the server and then push the up arrow to upload your website to the server. Make sure you are in Local View in that window.
- And now your site is uploaded and ready to view.
