IPad Video Recording Best Practices
Recording with your iPad is an easy alternative to a digital camera. This are some quick tips to help you get a better, more professional looking video from your iPad.
Setting up Your Camera
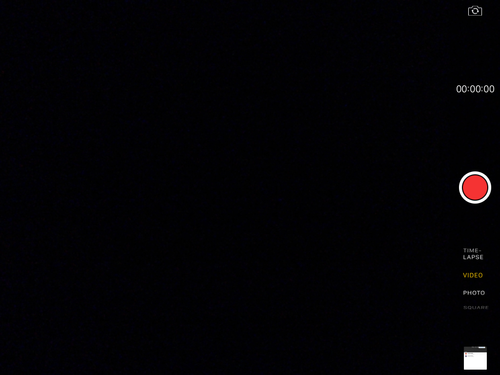
To record videos with your iPad go into the Camera app and set the camera to video mode. To tell your camera is in video mode, the capture button will turn red.
Camera Positioning
To get the best format for your video, you should record with your iPad in the landscape position. This means that your iPad should be turned on its side rather than positioned up right. This will allow your videos to be the correct height and width for when you are editing.
Lighting
Lighting is an important element when recording videos. You want good lighting to not only make your video look better but also to make it so viewers can see what you recorded. Let's look at the different types of light sources you can use:
- Natural Light: Natural light is the light that is supplied by the sun. Often this will be the best and easiest light source to use. Outside videos will use natural light so it's important to plan ahead to ensure you will still have natural light when recording. Natural light can also be used in indoor videos if a room has windows.
- Incandescent/Fluorescent Light: These lights come from light bulbs or artificial light. These are the easiest lights to manipulate and move around however you want them to be positioned. However, these lights often change the white balance of a video by making them warmer or colder in color. That is, they make the video look more yellow/orange or more blue.
When recording it is also important to think about the positioning of your light source. For example, you want your light to be in front of your subject so it lights the front of the subject but still remain behind the iPad camera. You do not want it to be behind your subject because the back light will make your subject look like a shadow. Avoid recording video with the sun in the background or with a window with natural light coming through behind your subject.
Sound
When recording, you want to take into account what your video will sound like. You want to try to avoid background noise that your iPad microphone may pick up. Background noise can be very distracting to viewers and take away from what you are saying in your video. Examples of background noise include people talking, animals, appliances humming, construction, traffic, etc. To see if you have any disruptive background noise, record a test video of about 20 sec and play it back for you to listen.
Another thing you should consider with sound is how far away your subject is from the microphone. You want your subject to be close enough for his or her voice to be loud and clear but not too close where the sound gets blown out. Once again, record some test videos from different distances to find a sound you like.
Focusing
The last thing you should check before you press record is the focus of the camera. You want your camera to remain in focus on your subject the whole time you are recording.
To focus your camera on an iPad, tap the screen where you want the camera to focus. A yellow box should appear and you will see the camera move and adjust.
When you have the camera focused and positioned how you want it, you are ready to press record.
