Microsoft Office Lens
Use Microsoft Lens on your smartphone or PC to take pictures of documents (e.g., handwritten assignments, homework), clean up the image to make it more readable, and send it to your instructors.
Install Lens on your phone
Search for the Microsoft Office Lens app on Apple's App Store or Google Play and install it as you would any app.
Installing Lens on Iphone
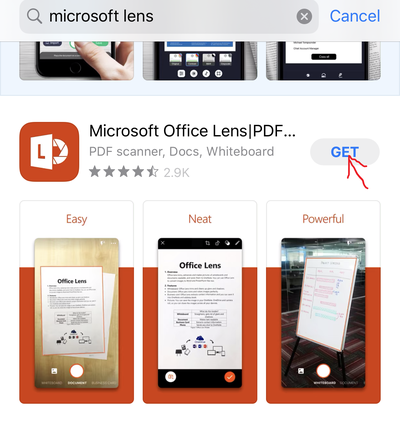
1.Open App Store and search for Microsoft Lens or click on this Apple's App Store link.
2.Click on GET as shown in the image below.
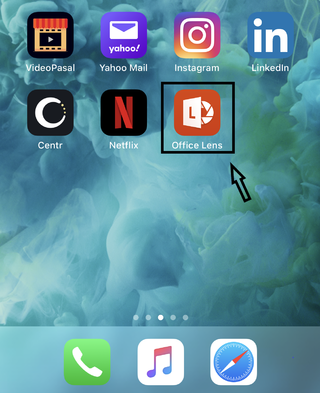
3.After installation is completed you can see the Office Lens icon on your home screen.
4.Click on the Office Lens icon to open it as shown in the image below.
Installing Lens on Android
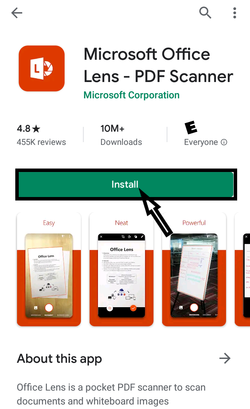
1. Open PlayStore and search for Office Lens or click on this Google Play link.
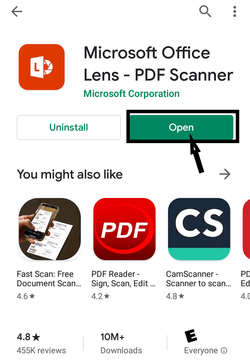
2. Click on Install and wait until it is installed. Once it is installed you will see option to Uninstall and Open. Click on Open, it will open the Lens app for you.
How To Use Lens To Scan Assignments
This process is same for both Iphone and Android.
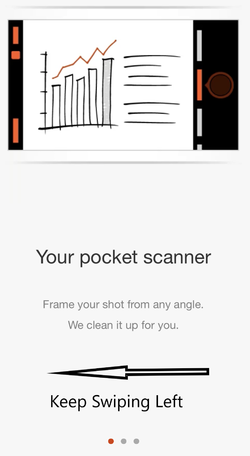
1. After you open the Office Lens app you will see the following screen just for the first time of use. You can keep swiping left until you reach Step 2.
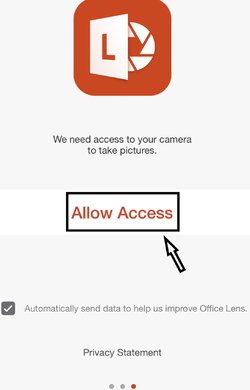
2. In next step it will prompt to "Access Camera". Click Allow Access.
- It will again ask to Allow Camera Access in next window. Click OK.
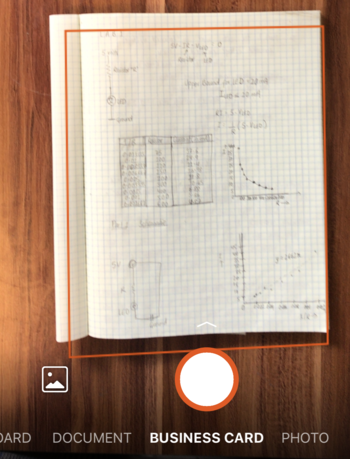
3. After allowing access to Camera you will see your Office Lens app working and ready to scan documents, assignments. If you look at the bottom of your phone screen you will see four options:
- WHITEBOARDS
- DOCUMENTS
- BUSINESS CARD
- PHOTO
Select one of these four options as per your convenience.
- Note: When you are taking picture of documents to scan, make sure the required part of documents is inside the Orange Rectangle shape as shown in picture or else it will be cropped out.
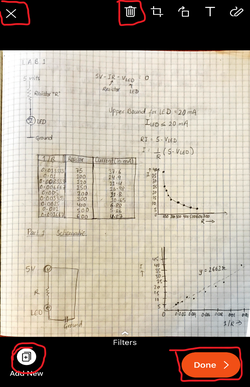
4. Once you are done taking Picture it will create a .JPG format image of the document. It will also show you preview of your document, if you don't like it the way it is you can re-capture the document. The sample of preview window is shown below:
- Note: If the scanned document looks good then you can Click Done on bottom right corner of phone screen. If you have more than one page to scan Click Add New on bottom left corner of phone screen. If you want to discard recently taken single scan then you can Click Bin Icon on top of your phone screen or if you want to discard all the scans taken then Click on X at top left of your phone screen.
Exporting Scanned Files
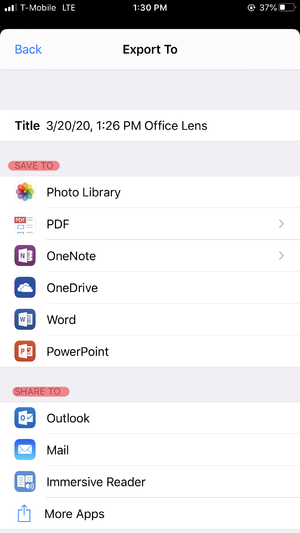
1. Once you are done Scanning all the documents and click Done you will be prompted to Export To Window which will look like the one shown below. We primarily have two options:
- Save to
- Share to
- Save to: This option can save the scanned documents in the device or on the OneDrive(Setting up OneDrive to Export Document is shown later on this page) .
Under Save To you have the various options as shown in the picture above. Select the one that works best for you.
- Share to: This option allows you to directly share your scanned documents through Mailing apps or other File sharing apps.
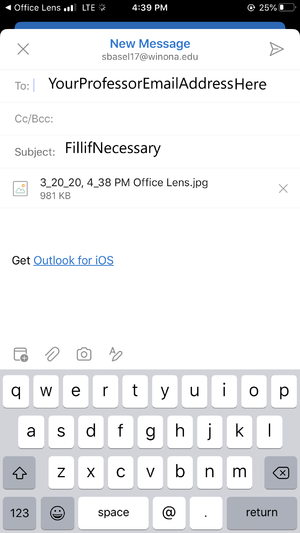
Under this option if you have Outlook or Mail app on your phone you can use those app to directly share files to person you would like to share with. All you need to do is type email of the recipient and fill subject or body part of the email if necessary. After that you can Hit Send.
Setting Up OneDrive To Export Scanned Documents
This Process has to be done only for the First time of use.
1. After you are done scanning file and hitting Done you will be prompted to Export To Window and under Save To option you will see OneDrive.
2. Click on OneDrive Icon.
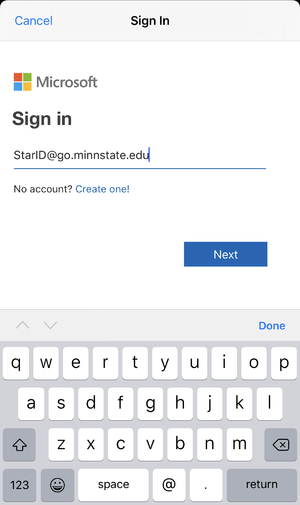
3. Next Step you will be prompted to Sign In Window. Use StarID@go.minnstate.edu as email.
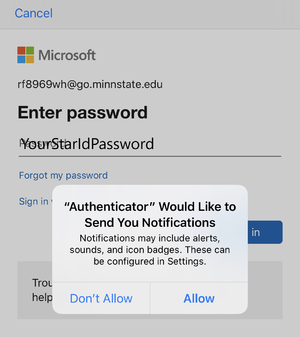
4. Next Step you will be prompted to Message to Allow Authenticator to Send Notification. You can select either option. After that you will be prompted to type in password Type Your StarID password.
5. After typing your StarID password your OneDrive is setup to Export Files and the files will be saved under Office Lens folder which is automatically created by Office Lens App on your OneDrive.
Submitting Your Scanned Documents to Your professors
While submitting you have 2 options:
a. Exporting with Share to option and Directly Emailing to your professors.
b. Exporting with Save to option to save scanned files in specific destination on your device and opening D2L and submitting your files on D2L submission folders.
Note: Out of these two method use the one as per your professors recommendation.
More wiki links
External links
Except where otherwise noted, text is available under the Creative Commons Attribution-NonCommercial-ShareAlike 4.0 International License.
