Recording and Narrating PowerPoint Presentations
About PowerPoint Recording and Adding Narration
A very powerful functionality of PowerPoint is to record and add narration to your presentations. This functionality has been around for some time in PowerPoint, but it has always proven to be frustrating to use as the file sizes once converted into an MP4 video file format for MediaSpace were extremely large and played poorly. Recently they have upgraded the video compression functionality so you can more easily share these online.
Recording and Adding Narration in PowerPoint Presenations
1. In the PowerPoint Ribbon choose the Presentation option.
2. Choose the Record Slide Show from the beginning or from the current slide.
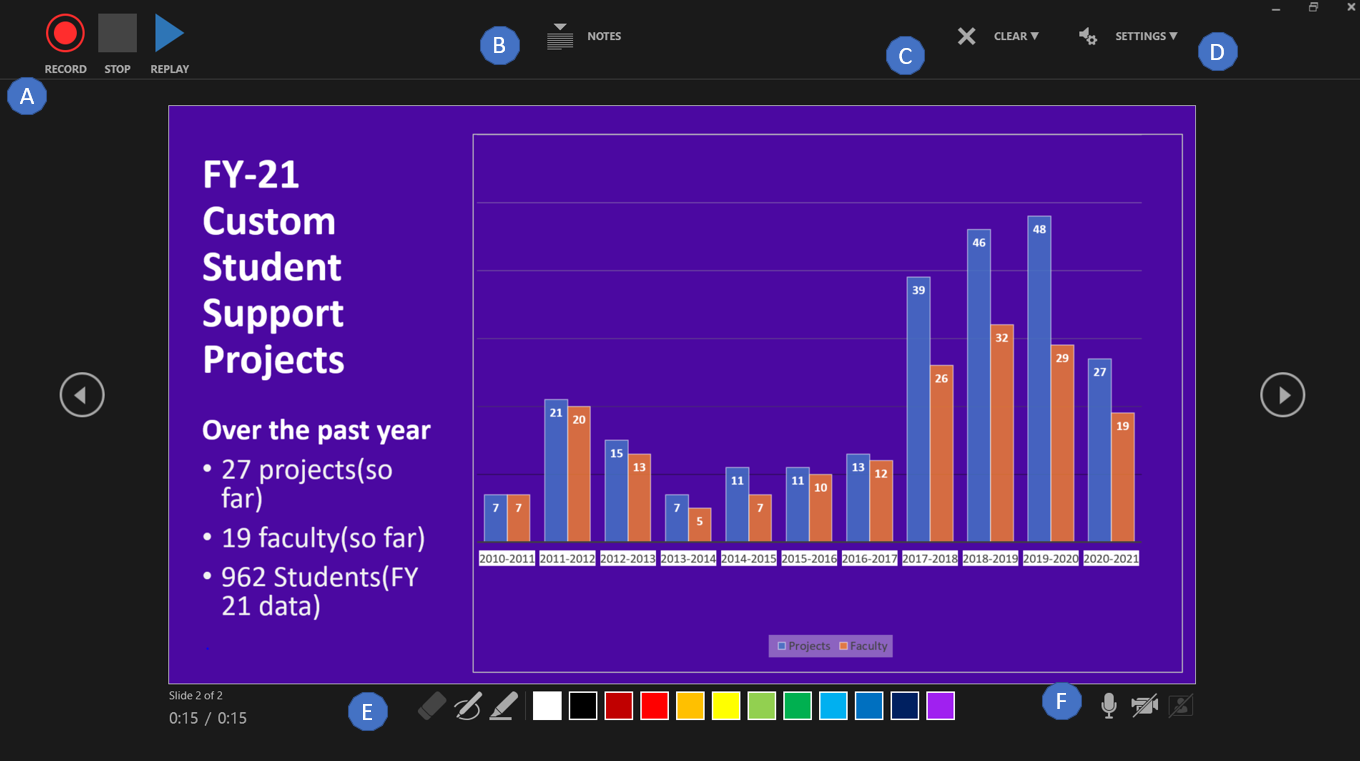
3. This will bring you into the Recording screen where you will be able to A) start recording/Pause/Stop buttons, B) activate notes, C) clear recordings on slides or entire presentation, D) camera and microphone settings, E) pen settings, and F) screen, camera, and microphone activation.

LinkedIn Learning (see how to signup here) also has a great video series on PowerPoint and learn more about recording adding narration (see course file here).
You will need to convert your recording to video format (i.e. MP4).
- Go to the File menu.
- Select the Export option.
- Choose the Create a Video option.
- You may want to select the level of quality (Full HD 1080p or HD 790p).
- Select the Create Video button and the conversion will be complete shortly.
There is also a video in LinkedIn Learning on this process as well and it can be found at Exporting Your Video.