Adobe Bridge/Creating a Contact Sheet with Adobe Bridge
Adobe Bridge can easily help you create a contact sheet with any set of photos.
If you are using Photoshop to edit your photos, save the edited images you wish to use in your contact sheet in their own folder.
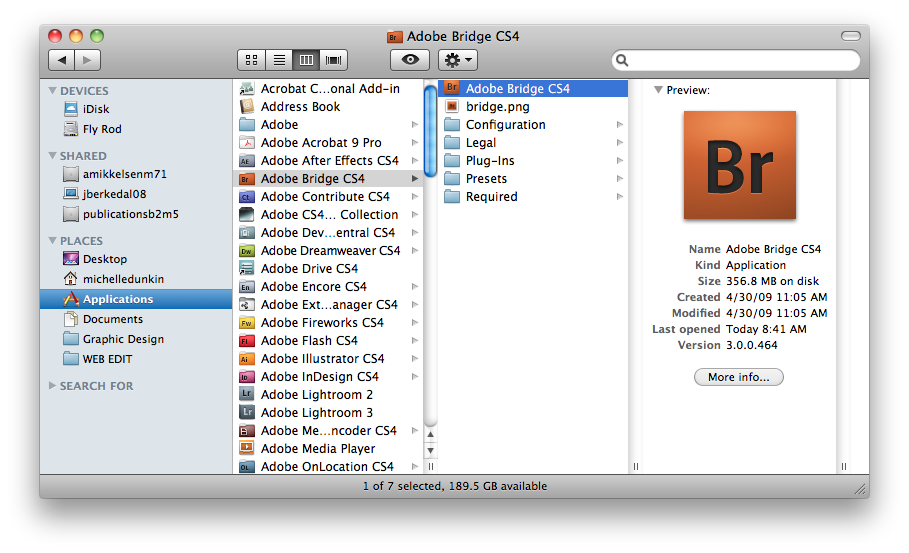
Once everything is saved, go to your Applications folder and locate Adobe Bridge.
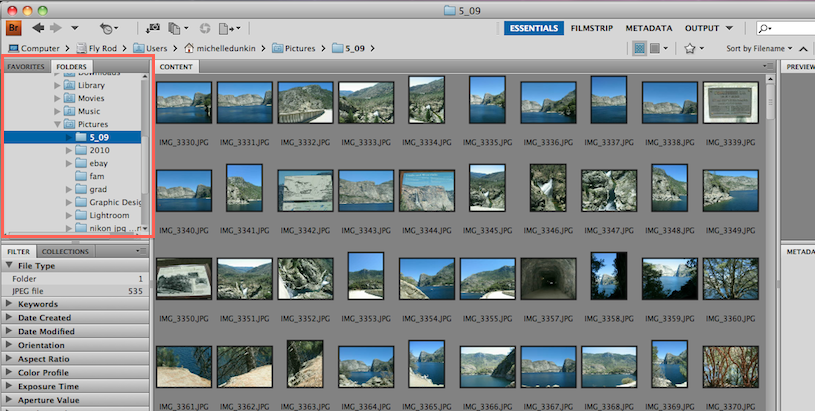
When you open up bridge, navigate through the folders to find the folder of images you wish to create a contact sheet out of by using either the Favorites or Folders tab on the right side of your screen.
Once you have located the folder, click on it and the images should appear in the Content tab.
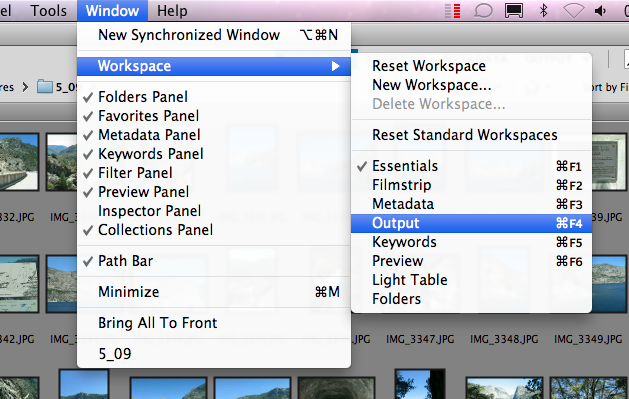
Next, go to Window on your menu bar > Workspace > Output
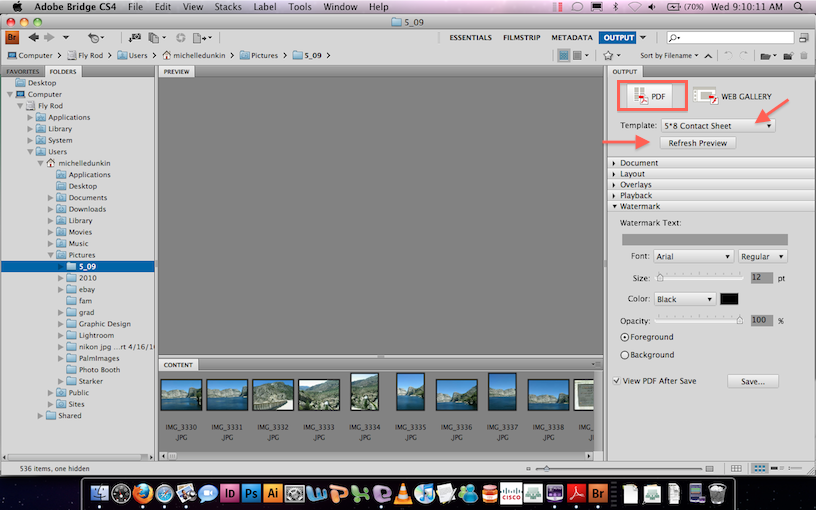
The Output panel will appear on the right hand side of your screen. Click on the PDF button. Next select the images in the Content panel that you wish to use in the contact sheet by clicking (click then shift to select more than one in a row or command a to select all)
On the Template drop down menu, select 5*8 Contact Sheet and hit the Refresh Preview button.
This should generate the contact sheet preview.
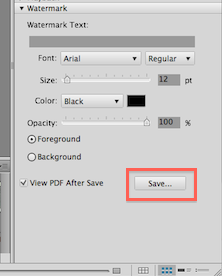
At the bottom of the Output panel under the Watermark drop down, click Save.
Once it is saved you can print it, upload it to D2L or email it - whatever you would normally be able to do with a PDF.
