Post and update Brightspace announcements
Post and edit Brightspace announcements manually using the built-in editor. Add a headline and the announcement content, decide whether to display the current date, save a draft of the announcement for completion later, and publish it for your students.
Manual, scheduled, and conditional release
Brightspace announcements can be published by the instructor to the course homepage manually at any time. Instructors can also schedule announcements to be displayed after and/or before a certain date and time. Finally, announcements can be set to display only after a student meets certain conditions (e.g., completes a quiz, submits an assignment).
Copy and paste warning
As a general rule, always enter your announcement into the Brightspace HTML Editor directly. Do not copy and paste it from another, more sophisticated editor (e.g., Word). Such content may include formatting tags that will not convert to HTML and may cause unexpected results. If you must copy content from another editor, paste it into the Brightspace HTML Editor, use the [Shift][Ctrl][V] (PC) or [Shift][Command][V] (Mac) key combination, which pastes what is on your clipboard in plain, unformatted text.
Post a new announcement
- On your Brightspace course homepage, select the down arrow to the right of Announcements (Fig 1.1)
- Select New Announcement from the menu (Fig 1.2). This will open the Brightspace HTML Editor.
- Enter a title in the Headline field (Fig 2.1)
- Enter your announcement into the Content field (Fig 2.2)
- Decide whether to Show Start Date using the checkbox
- Select the Publish button to post the announcement and the Save as Draft button to work on it later.
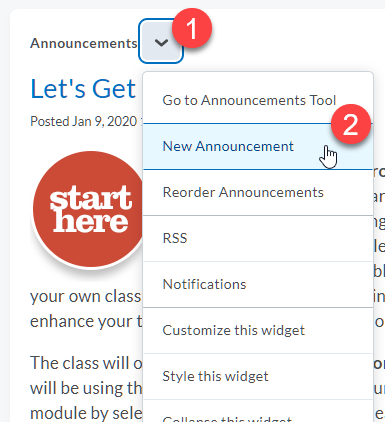
Fig 1. Select New Announcement

Fig 2. Enter headline and content


Edit an announcment
Minor update
- On your Brightspace course homepage, select the down arrow to the right of Announcements (Fig 3.1)
- Select Go to Announcements Tool from the menu (Fig 3.2). This will open a list of all your announcements.
- Select the headline of the announcement you wish to edit or select the down arrow to the right of the headline and select Edit (Fig 4).
- Update the announcement
- If the announcement was in saved as a draft, select the Publish button or the Save as Draft button to work on it later. If the announcement was published, select the Update button.
Major update
A major update will restore the announcement for anyone who dismissed it and send a corresponding notification to students.
- Follow Steps 1-4 above
- Update the announcement
- Check the Major edit checkbox (Fig 5)
- If the announcement was in saved as a draft, select the Publish button or the Save as Draft button to work on it later. If the announcement was published, select the Update button.
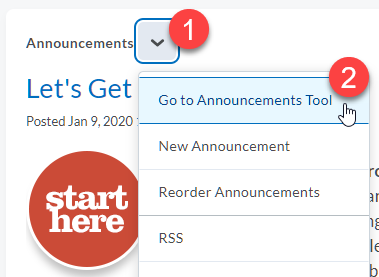
Fig 3. Select Go to Announcements Tool

Fig 4. Enter headline and content

Fig 5. Select Major edit checkbox


More wiki articles
- Personalize Brightspace announcements using replacement strings
- Dismiss and restore Brightspace announcements
- Schedule Brightspace announcements
- Post and update Brightspace announcements
External links
Except where otherwise noted, text is available under the Creative Commons Attribution-NonCommercial-ShareAlike 4.0 International License.